
Solution: the voltage regulator is likely the culprit. You can read a lot more here http://www.pelicanparts.com/techarticles/Boxster_Tech/82-ELEC-Alternator/82-ELEC-Alternator.htm
 I ended up replacing the whole alternator with a rebuild one but if time is not of the essence you can order the voltage regulator from Pelican Parts and save about $100 (a re-manufactured alternator should run you about $170, if you are paying more you are probably being ripped off since the VR costs about $36 retail). From what I have read it is a good idea to just put a fresh rebuild alternator instead of changing only the VR but I will leave to your taste.
Tips and trick not available elsewhere:
- in a 2003 and likely older model Boxster/Cayman there is no point in disconnecting the engine lead cable in the engine bay as described in most how-to blogs (i.e. the link above). The wire has been modified into a Y-split and the third leg of the Y is still connected after you disconnect from the engine bay so you still have no gained any more mobility when working on the alternator connections. Just be careful when you do remove it and install it and leave this lead alone.
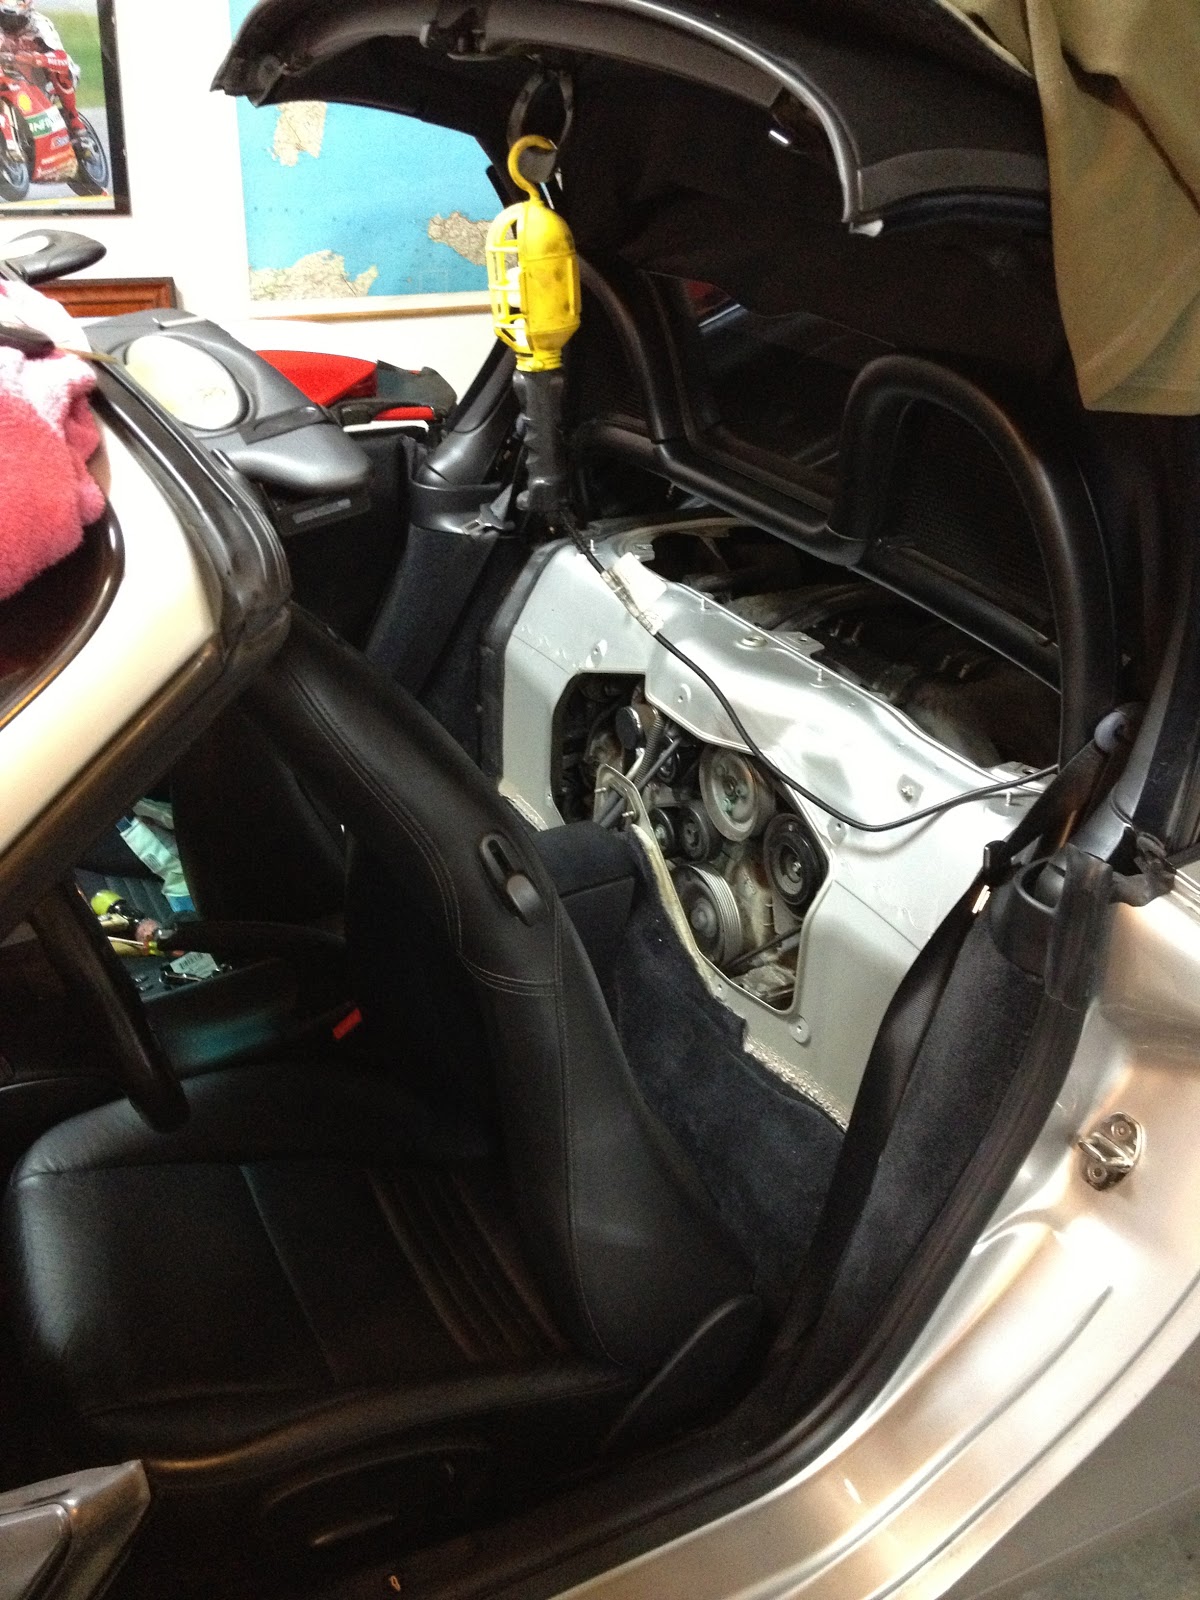
 - it is a real pain to re-align the new alternator bolts, I used a strap to lift some of the weight of the alternator from the top so that it would move and rotate in place more easily.
- you will likely have all kind of problems getting the right hand side bolt to thread. In my case the alignment was a left to right issue more than a vertical matter (it will make sense once you do it, just check for it when it is time) and I had to push it towards the center of the car to make the holes to align.
- The right hand side bolt actually double as a pivot point for the alternator (sort of) and I tried install it with the left bolt in place and just "hook it" from the top into the grove built in on the engine blick but you basically have no visual to align it so it is a one in a million shot (look at said groove after you remove the old one, you will know what I mean). I used the technique above instead.
It's interesting to see how these alternators work from the inside! I really thought the mappings of the electrical components helped me better understand how they work. I'm going to order my new alternator for my car. Any suggestions?
ReplyDeletehttp://www.carbusters.net.au/products
This comment has been removed by the author.
ReplyDeletevery nice DIY for Porsche, i just had Eurobahn Porsche in Greensboro, NC
ReplyDeletejust replace my 911 alternator
http://www.eurobahnm.com/porsche-service/